A slow Windows 11 PC is frustrating, but most of the fixes are straightforward and free. This guide covers 12 fixes that actually work, tested on real machines, not just theoretical settings changes. You don’t need to reinstall Windows or buy new hardware to get your PC running faster.
Start from the top and work your way down. Most people see a noticeable difference after just the first four steps.
Check What Is Actually Slowing Your PC Down First
Before changing anything, find out what’s actually causing the slowdown. Fixing the wrong thing wastes time. Windows 11 has built-in tools that show you exactly where the problem is.
Use Task Manager to Find Resource Hogs
Press Ctrl + Shift + Esc to open Task Manager. Click the “Processes” tab and sort by CPU, then Memory. Look for any app using more than 30% of either resource when you’re not actively using it.
Common culprits are browser extensions running in the background, antivirus doing a full scan, Windows Update downloading, and apps like Discord or Spotify using memory while minimized. Once you know what’s using resources, you can close or disable it.
Check Drive Health and Space
A drive that’s more than 85% full slows down significantly. Open File Explorer, right-click your C: drive, and click Properties. If you’re above 85%, cleaning up files should be your first step.
Drive health matters too. Open Windows Search, type “Device Manager,” expand “Disk drives,” right-click your drive, and check Properties for any errors. A failing drive causes slowdowns and freezes that no software fix can cure.
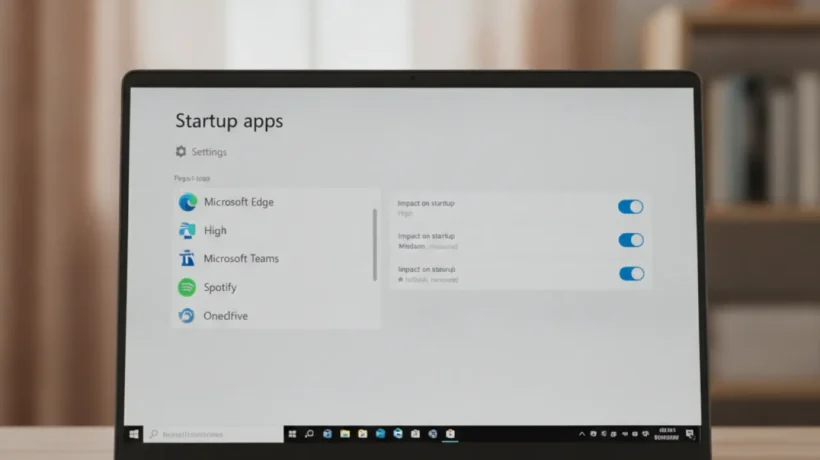
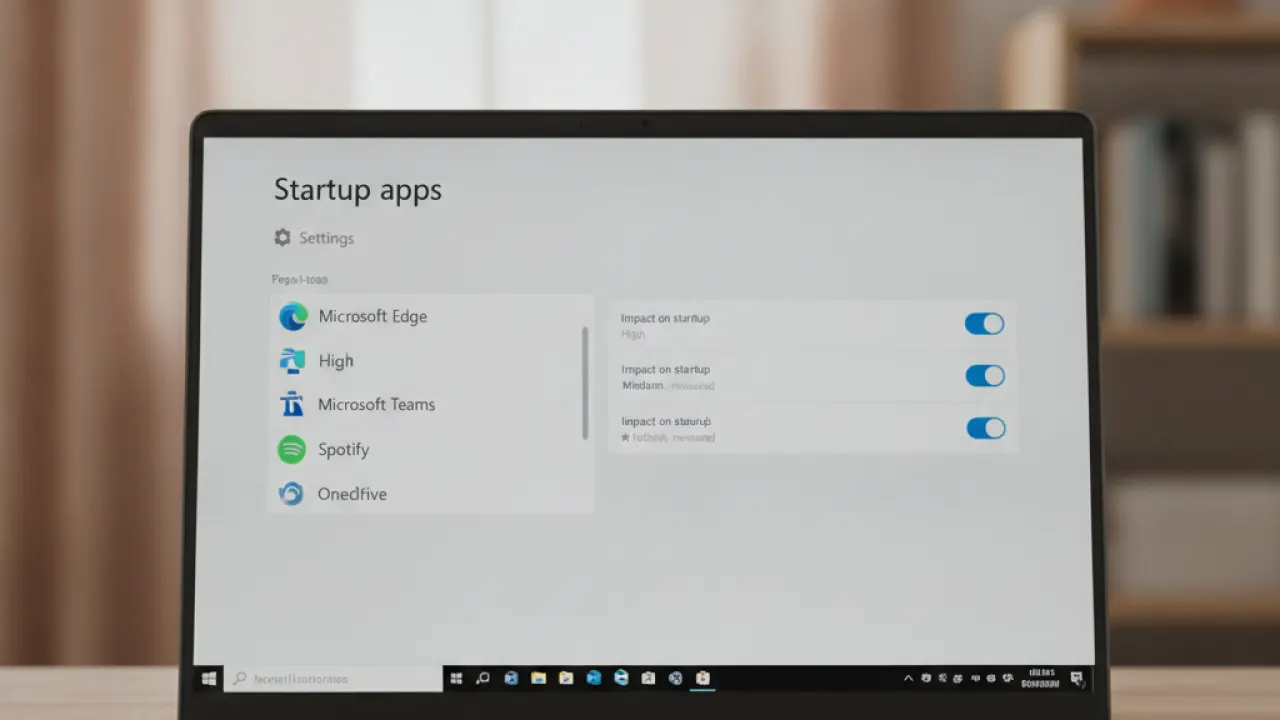
Fix 1: Disable Startup Programs That Launch Automatically
This is the most common cause of a slow startup in Windows 11. Every app you install wants to launch at startup, and after a few months, you can have dozens of programs loading before you’ve even opened a browser.
Here’s how to disable them:
- Open Task Manager with Ctrl + Shift + Esc
- Click the “Startup apps” tab
- Look at the “Startup impact” column, sorted from High to Low
- Right-click any app with High impact that you don’t need immediately at startup
- Click “Disable”
Safe programs to disable at startup: Spotify, Discord, Teams (if your employer doesn’t require it), Steam, Epic Games Launcher, OneDrive (if you don’t rely on it heavily), Adobe Creative Cloud, and most manufacturer apps that came with your PC.
Do not disable: your antivirus, Windows Security, and anything with “Windows” or “Microsoft” in the name that you don’t recognize.
How Much Faster Will This Make Your PC?
On machines with many startup programs, disabling high-impact apps can cut boot time by 30 to 60 seconds. Day-to-day performance also improves because those apps aren’t running quietly in the background using RAM and CPU throughout the day.
Fix 2: Adjust Power Settings to Prioritize Performance
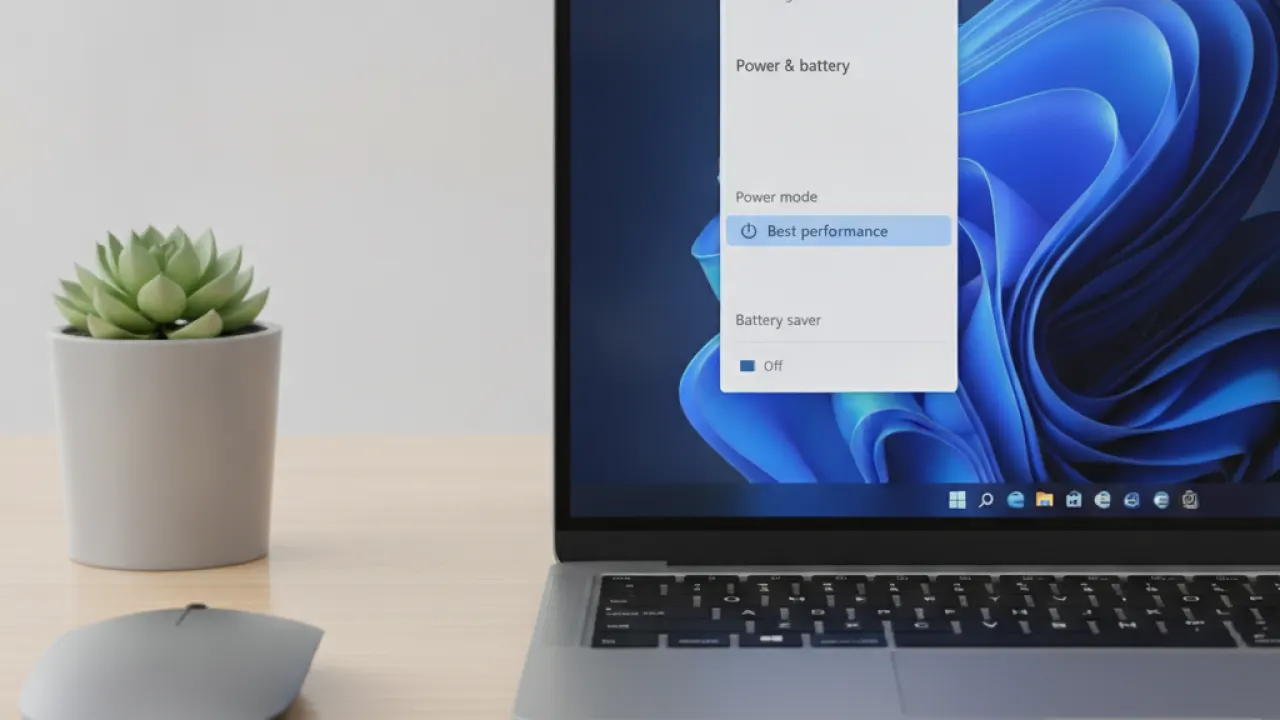
Windows 11 ships with “Balanced” power mode by default on laptops and many desktops. Balanced mode deliberately throttles CPU speed to save power. On a desktop or when plugged in, switching to High Performance or Ultimate Performance makes a real difference on demanding tasks.
How to Change the Power Plan
- Press Win + I to open Settings
- Go to System, then Power and Sleep
- Click “Additional power settings” (or search “Power plan” in Windows Search)
- Select “High performance” from the list
- If you don’t see Ultimate Performance, search for “power plan” in the Start menu and select “Create a power plan” to enable it
On a laptop running on battery, stay on Balanced. High Performance will drain your battery fast. But if you’re plugged in and doing any intensive work, the performance gain is worth it.
Enable Hardware-Accelerated GPU Scheduling
This setting offloads some CPU work to the GPU for smoother graphics performance. Go to Settings, then System, then Display, then Graphics. Turn on “Hardware-accelerated GPU scheduling” if it’s not already enabled. You’ll need to restart for it to take effect.
Fix 3: Clean Up Disk Space With Storage Sense
A drive with less than 15% free space runs noticeably slower. Windows needs room to create temporary files, and when there isn’t enough, it slows down. Storage Sense is a built-in tool that cleans up junk files automatically.
Run Storage Sense Now
- Go to Settings, then System, then Storage
- Click “Storage Sense”
- Turn it on and click “Run Storage Sense now”
- Also check the “Cleanup recommendations” section below
Storage Sense removes temporary files, old Windows Update files, files in the Recycle Bin, and downloaded program files that are no longer needed. On a system that’s been running for a few months without cleanup, this can free up several gigabytes.
Manually Delete Large Files Taking Up Space
In the Storage section, click “Show more categories” to see exactly where your disk space is going. Video files, old downloads, and the “Other” category are usually the biggest opportunities for manual cleanup.
The Windows.old folder (created after a Windows upgrade) can be 15 to 30GB. If your system is working fine, this is safe to delete through Storage Sense.
Fix 4: Adjust Visual Effects for Better Performance
Windows 11 has a lot of visual animations Microsoft’s own documentation at support.microsoft.com covers additional performance settings not mentioned here. and effects that look nice but use CPU and RAM. On older or less powerful machines, turning these down makes everyday navigation faster.
Turn Off Animations and Transparency
- Search “Adjust the appearance and performance of Windows” in the Start menu
- Select “Adjust for best performance” to turn off all visual effects
- Or click “Custom” and keep just the ones you want (smooth fonts and thumbnails are worth keeping)
You can also go to Settings, then Accessibility, then Visual effects, and turn off “Animation effects” and “Transparency effects” there. These changes take effect immediately.
More Fixes That Make a Real Difference
The fixes above cover the most common causes of slowdowns. Here are five more worth doing:
- Fix 5: Run Windows Update — Updates often include performance fixes and driver improvements. Go to Settings, then Windows Update, and click “Check for updates.”
- Fix 6: Update your drivers — Outdated graphics and chipset drivers cause performance problems. Open Device Manager, right-click your graphics card, and click “Update driver.”
- Fix 7: Scan for malware — Malware runs in the background and uses your CPU and internet connection. Open Windows Security and run a full scan.
- Fix 8: Increase virtual memory — If you’re running out of RAM, Windows uses your drive as extra memory. Search “Adjust the appearance and performance of Windows,” click Advanced, and under Virtual memory, click Change. Let Windows manage it automatically if you’ve been manually setting it.
- Fix 9: Restart regularly — Windows 11 uses hibernate by default, which means it never fully restarts. A full restart (not shutdown) clears memory and resets processes. Schedule one restart per week at minimum.
Hardware Upgrades That Actually Speed Up Windows 11
Some slowdowns can’t be fixed with software. If you’ve done everything above and your PC is still sluggish, the problem might be hardware. Here’s what to upgrade first and what to ignore:
Add More RAM if You Have Less Than 16GB
Windows 11 uses about 4GB of RAM just to run. If you have 8GB total and you’re running a browser with multiple tabs plus other apps, you’ll constantly be swapping memory to disk, which is slow.
16GB of RAM is the sweet spot for most users in 2027. 32GB makes sense if you do video editing, programming, or run virtual machines. Adding RAM is usually the most cost-effective hardware upgrade you can make.
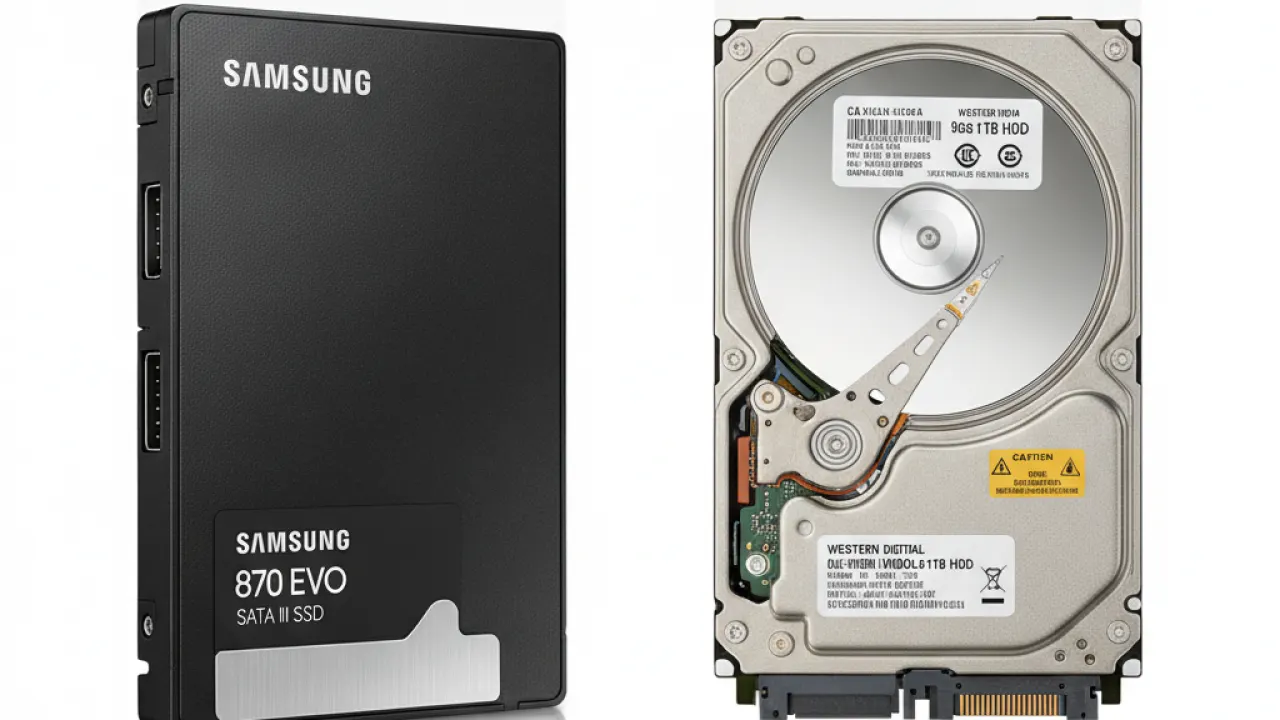
Switch to an SSD if You’re Still on a Hard Drive
If your PC boots from a traditional spinning hard drive rather than an SSD, switching to an SSD is the single biggest performance upgrade you can make. Windows 11 starts in under 15 seconds on an SSD versus 60 to 90 seconds on a hard drive. Everything opens faster.
A decent 500GB SSD costs around $50 to $70. Many laptops allow you to swap the drive yourself. Desktops almost always allow it.
When to Consider a Full Upgrade Instead
If your PC is running a CPU from before 2017, it may simply not be powerful enough to run Windows 11 well. Processors from that era weren’t designed with the overhead that modern operating systems require. In that case, upgrading individual parts may cost more than buying a new mid-range system.
A current mid-range PC with a recent CPU and 16GB of RAM will run Windows 11 comfortably for the next several years. It’s worth comparing upgrade costs against replacement costs before spending money on old hardware.
Most people who apply the 12 fixes in this guide see a meaningful improvement without spending a dollar. Start with the startup programs and power plan settings. Those two changes alone speed up Windows 11 for the majority of users.
You’ll find more guides on getting the most from your PC at TechDeft, including comparisons of the best tools and hardware for every budget.
Which of these fixes made the biggest difference on your machine, and was there a fix we missed that worked well for you? Let us know in the comments below.